With their iconic Swiss cheese-like leaves, Monstera plants have become a beloved addition to many households. Whether you’re a seasoned plant enthusiast or just starting your indoor garden journey, learning how to propagate Monstera can be a rewarding experience. In this in-depth guide: “How to Propagate Monstera“, we’ll dive into the world of monstera propagation, offering valuable tips, techniques, and insights to help you along the way.
Understanding Monstera Plants
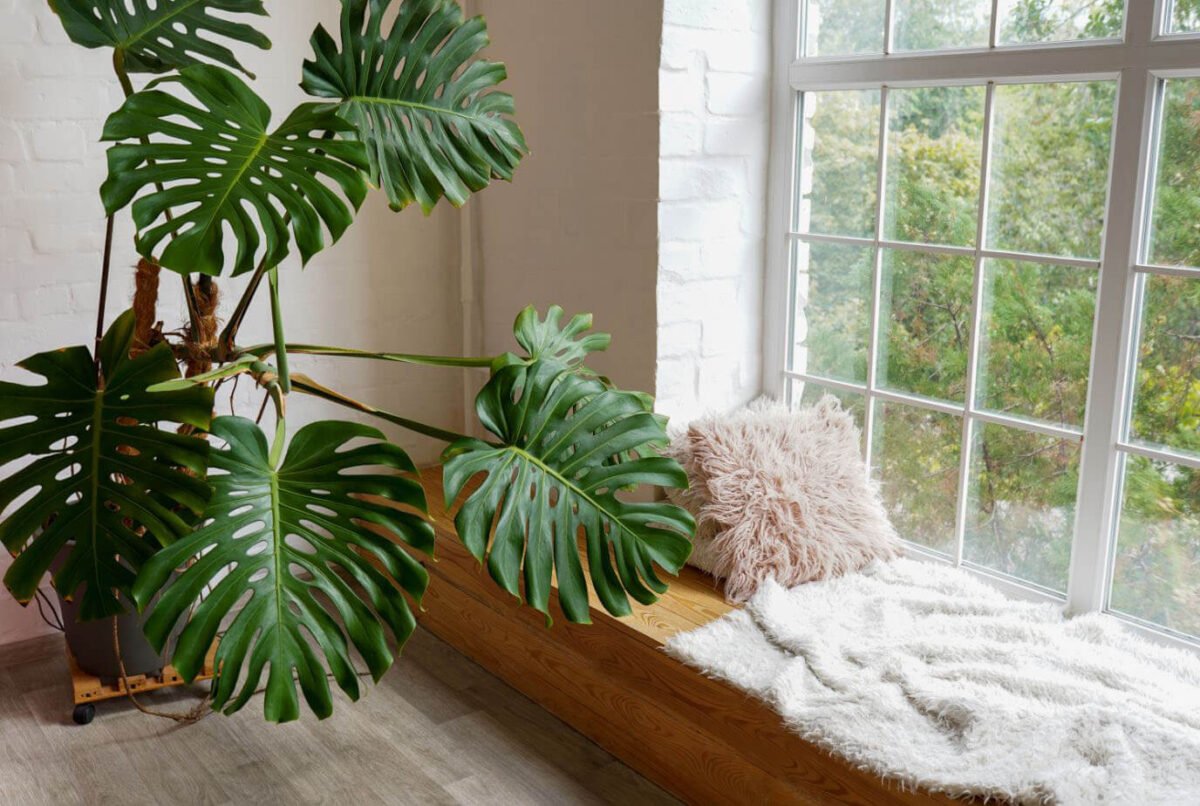
Monstera, with its scientific name Monstera deliciosa, hails from the lush rainforests of Central America. Its distinctive split leaves have gained immense popularity as an indoor plant, adding a touch of the jungle to your living space. You’ll need to understand its growth patterns and unique characteristics to propagate this beauty.
Monstera plants are known for their lush, green foliage with unique holes and splits, resembling Swiss cheese. These striking features have earned them nicknames like “Swiss cheese plant” and “split-leaf philodendron.” Monstera plants are known for their ease of care and their ability to thrive indoors.

Why Propagate Monstera?
Why should you consider propagating your monstera plant? There are several compelling reasons to do so:
- It’s an excellent way to expand your plant collection without buying new ones.
- It allows you to share the joy of Monstera with friends and family.
- Propagating your Monstera can be a fantastic way to experiment with different propagation methods and learn more about plant care.
When you propagate your Monstera, you’re creating new plants from your existing ones. This can be an exciting and rewarding experience, especially when you witness the growth and development of your new monstera plants.
When to Propagate Your Monstera
The timing of your monstera propagation can influence the success of the process. Understanding when to propagate is crucial. Generally, the best time to embark on this journey is during the growing season, which typically falls in spring or early summer. It’s when your Monstera is brimming with vitality, making it the perfect time to focus its energy on developing strong roots.
Monstera plants are more receptive to the propagation process during the active growing season. This is when they have the most energy and nutrients available for developing roots and new growth. It’s also a time when environmental conditions, such as temperature and humidity, are more conducive to successful propagation.
What You’ll Need
Before you start your monstera propagation journey, gathering the necessary tools and materials is essential. Here’s what you’ll need:

- Sharp, Clean Pruning Shears or Scissors: These tools are essential for making clean and precise cuttings.
- Healthy Monstera Plant for Taking Cuttings: Ensure you have a healthy parent plant from which you can take cuttings.
- Clean Water (for Water Propagation): Use clean, filtered water to prevent any potential contamination.
- Well-Draining Potting Soil (for Soil Propagation): Select a high-quality potting mix suitable for indoor plants.
- Sphagnum Moss and Plastic Wrap (for Air Layering): These materials are required for creating a humid environment conducive to root development.
- Small Pots or Containers for Planting Cuttings: Ensure you have containers of an appropriate size for your chosen propagation method.
- Adequate Natural or Artificial Light: Make sure your cuttings receive the right amount of light for healthy growth.
Having these supplies on hand ensures that you’re well-prepared for successful monstera propagation.
Different Propagation Methods
Propagating Monstera offers a chance to experiment with various methods to find the one that works best for you. Let’s dive into three primary methods for propagating Monstera.
How to Propagate Monstera in Water
Water propagation is a popular method due to its simplicity. To propagate Monstera in water, follow these steps:

- Select a Healthy Stem Cutting: Select a robust stem cutting that features at least one node. (the small bump on the stem where roots will grow). A good cutting is typically around 6 to 12 inches long.
- Place the Monstera Cutting in Water: Place the stem cutting in a clear container with enough clean water to submerge the nodes. Make sure that at least one node is submerged, as this is where the roots will form.
- Change the Water Regularly: Change the water every 1-2 weeks to prevent stagnation and bacterial growth. Freshwater ensures that the roots have access to essential nutrients.
- Provide Indirect Sunlight: Place the container in a well-lit area with indirect sunlight. Be mindful to steer clear of direct sunlight since it can harm the cutting by scorching its delicate leaves.
Water propagation is particularly beginner-friendly, as it allows you to easily monitor the development of roots, making it an excellent choice for those new to plant propagation.
Soil Propagation: Planting the Seeds of Growth
Soil propagation involves planting monstera cuttings directly into potting soil. Follow these steps for soil propagation:

- Choose a Healthy Stem Cutting: Select a healthy stem cutting from your mother Monstera plant with at least one node. A good cutting is typically 6 to 12 inches long.
- Prepare the Pot and Soil: Fill a small pot with well-draining potting soil suitable for indoor plants. Moisten the soil lightly to prepare it for the cutting.
- Plant the Cutting: Make a small hole in the potting mix and gently place the stem cutting into it. Ensure that the node is covered by the soil, but the leaves should remain above the surface.
- Water Thoroughly: Water the cutting thoroughly after planting to settle the soil and provide initial moisture.
- Provide Bright, Indirect Sunlight: Place the pot in a location with bright, indirect sunlight. This will encourage healthy growth.
Soil propagation is a traditional and reliable method for propagating Monstera.
Air Layering: A Unique Approach to Growing Roots
Air layering is a more advanced technique that encourages roots to grow on a portion of the parent plant before separating it. Here’s how to propagate Monstera using air layering:

- Select a Suitable Section: Choose a healthy stem section where you want roots to form. It’s essential to select an area with active growth.
- Make a Diagonal Cut: Make a diagonal cut in the stem, removing a small bark ring. The cut should be about 1 to 2 inches long.
- Apply Rooting Hormone: Apply rooting hormone to the exposed area of the stem. This hormone stimulates root development.
- Wrap with Damp Sphagnum Moss: Wrap the cut area with damp sphagnum moss. This moss helps create a humid environment that encourages root growth.
- Cover with Plastic Wrap: After wrapping the moss, cover it with plastic wrap to hold the moisture in place and create a mini-greenhouse effect.
- Wait for Roots to Develop: Over the next few weeks, roots will begin to form in the damp moss. This can take several weeks to a few months.
- Separate and Pot the New Plant: Once roots have developed, cut the stem below the rooted section and plant it in a pot with well-draining soil. Water it gently and provide proper care.
Air layering can be more challenging but can yield impressive results, especially if you want to create a new, independent plant from an established one.
Nurturing Your Plant Cuttings: A Gardener’s Guide
Once you’ve taken your cuttings, it’s essential to provide them with the proper care. Monstera cuttings need a stable environment to thrive. This includes maintaining a consistent temperature, humidity, and adequate lighting conditions. We’ll offer tips on how to create the ideal setting for your cuttings.

Here are some essential care tips for your monstera cuttings:
- Maintain a Temperature Between 70-75°F (21-24°C): Monstera cuttings root best when kept at a consistent temperature. Ensure the room remains comfortably warm for optimal root development.
- Ensure a Humidity Level of 60-70%: Monstera cuttings thrive in a humid environment. If your home is dry, consider using a humidity dome or misting the cuttings regularly to maintain the correct moisture levels.
- Provide Bright, Indirect Sunlight: While your cuttings need light to grow, avoid exposing them to direct sunlight, which can scorch their leaves. Bright, indirect sunlight is ideal.
Paying attention to these care details will give your monstera cuttings the best chance to flourish and develop into vigorous, independent plants.
Common Mistakes to Avoid
As with any gardening endeavor, there are potential pitfalls to be aware of during monstera propagation. Steering clear of common mistakes can significantly boost your chances of success and ensure your new plants flourish. Let’s explore some of the pitfalls you’ll want to avoid:
- Overwatering: One of the most common mistakes is overwatering. Monstera cuttings are susceptible to root rot if the soil is consistently waterlogged. Water them sparingly and ensure the pots have drainage holes.
- Inadequate Light: While monstera cuttings need light to grow, direct sunlight can harm them. Ensure they receive bright, indirect sunlight to prevent leaf scorch.
- Neglecting Humidity: Monstera cuttings require high humidity for successful propagation. Consider using a humidity dome or regularly misting the cuttings if your home has low humidity.
- Not Monitoring Growth: Keep a close eye on your cuttings to ensure they develop roots and new leaves. While patience is crucial, regular observation helps you promptly identify and address any issues.
- Skipping Sterilization: Using clean tools and containers is crucial to prevent the spreading of diseases and pathogens. Ensure your tools are sanitized before taking cuttings.
Steering clear of these common slip-ups will significantly improve your odds of successfully propagating your cherished monstera plants.
Patience and Monitoring
Patience is a virtue when it comes to propagating Monstera. You’ll need to monitor your cuttings regularly and wait for them to develop roots and eventually grow into healthy plants. Here’s what to expect during the propagation process:
- Depending on the propagation method and environmental conditions, it can take several weeks to a few months for monstera cuttings to grow roots. Be patient and provide the right conditions for optimal root development.
- New leaves will begin to sprout once the roots are established. This is a sign of a successful propagation process.
- Once the cuttings have grown sufficiently, they can be transplanted into larger pots for further growth.
Transplanting the New Plants
Once your propagated monstera cuttings have developed roots and are ready to be independent plants, it’s time to transplant them into larger pots. This step is crucial for their long-term health and growth. Here’s how to transplant your new monstera plants:

- Select a Pot: When choosing a new pot, opt for one that’s just a smidge larger—about 1 to 2 inches in diameter—than your Monstera’s current home. This extra space allows your plant plenty of room to spread its roots and flourish.
- Prepare the Potting Mix: Fill the new pot with a well-draining potting mix suitable for monstera plants. The mixture should be light and airy to allow for good root development.
- Carefully Remove the Cutting: Gently remove the Monstera cutting from its original pot, not damaging the roots. If the cutting is in water, carefully transfer it to the pot.
- Plant the Cutting: Plant the cutting in the center of the new pot, ensuring the top of the root ball is level with the pot’s rim. Make a hole in the soil, insert the cutting, and gently pack the soil around it.
- Water Thoroughly: Water the plant thoroughly to settle the soil and provide initial moisture. Ensure that the water reaches the roots.
- Place in a Suitable Location: Position the potted Monstera in a location with bright, indirect sunlight. This will encourage further growth and development.
Transplanting provides more space for your monstera plant to grow and thrive. As it matures, you may need to repeat the transplanting process to accommodate its increasing size.
Conclusion
To sum it up, propagating monstera plants is a truly rewarding journey. It’s a delightful way to enrich your plant collection and spread the joy of gardening with fellow enthusiasts. You can successfully multiply your beautiful monstera plants by understanding the different propagation methods, providing the proper care, and being patient. With a little effort and dedication, you’ll soon have a lush indoor jungle filled with these stunning and iconic houseplants.
FAQs
Yes, you can, but propagating from younger, healthier growth is often easier. Large monstera plants can be divided into multiple smaller plants for propagation. This can be done by carefully separating sections of the plant with a healthy node and roots.
The time it takes for monstera cuttings to grow roots can vary depending on factors such as propagation method, environmental conditions, and the overall health of the cutting. Generally, it can take several weeks to a few months. Remember, patience is your ally in this process. Keep providing the proper care; in due time, you’ll witness optimal root development.
While morning is often considered an ideal time to take cuttings, you can take them at any time during the day. The most crucial factor is to ensure that your tools and cuttings are clean and healthy. Whether you choose morning or another time, following proper sanitation practices to prevent any potential issues is essential.
It’s best to use distilled or filtered water for water propagation. Tap water may contain minerals and additives that can accumulate in the water and potentially affect the health of the developing roots. Using clean, filtered water helps maintain the integrity of the propagation environment.
The propagation process is similar for variegated and non-variegated monstera plants. The key is to ensure that the cuttings you take have nodes, regardless of whether they are variegated or not. Variegated monstera plants can be propagated with the same techniques described in this guide.
Now that you have the knowledge and tools, it’s time to embark on your monstera propagation journey. Remember to enjoy the process and be patient; soon, you’ll have a flourishing collection of these stunning plants in your home. Happy gardening!


4 Comments
Comments are closed.